
Timing-drive service
Confirm the engine, interval, history, and complete timing-drive scope before replacement
A timing belt synchronizes the crankshaft and camshaft on engines designed to use one. Failure or incorrect installation can stop the engine and, on some designs, allow internal contact. The correct interval, components, tools, locking method, coolant work, and verification are specific to the exact engine.
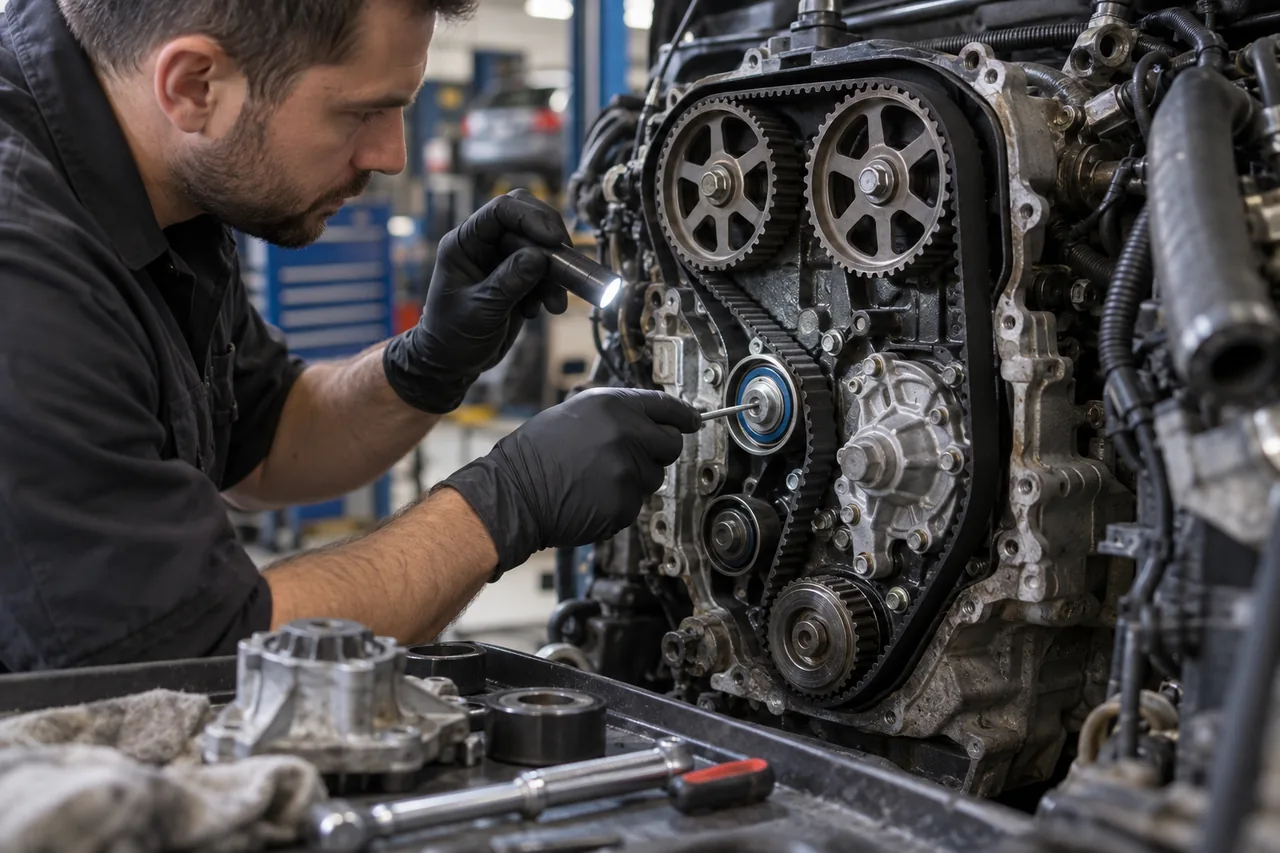
Verify that the exact engine uses a serviceable timing belt
Model names can span belt-driven, chain-driven, gear-driven, and different powertrains. Record the VIN, model year, engine code, production information, and market before looking up an interval or parts kit. Do not infer the drive type from the vehicle badge, a generic parts listing, or another owner’s engine.
Some engines use more than one belt, a balance-shaft drive, an oil-immersed belt, or a belt for a limited subsystem. These designs can have different inspection, contamination, material, oil, and replacement requirements. The page cannot supply a universal interval; the vehicle and engine manufacturer information governs.
Use both time and mileage, plus documented history
Timing-belt materials age as well as accumulate cycles. Compare the manufacturer’s time and mileage limits and any operating-condition guidance, using whichever requirement applies to the exact vehicle. Continental states that belt-drive checking and replacement intervals are specified by the vehicle manufacturer and must be followed.
An undated sticker or verbal claim is weak evidence. Look for an invoice with date, mileage, belt or kit details, water-pump and coolant scope, and provider. If history cannot be confirmed, discuss risk and baseline replacement without pretending the belt’s appearance proves its remaining internal strength. A cover inspection cannot reveal every damaged tensile cord or tooth bond.
Do not wait for a reliable warning symptom
Some failing systems produce noise, tracking, contamination, cracking, missing material, tensioner leakage, pulley roughness, coolant residue, or timing codes. Others can fail without a driver-detectable warning. A chirp or rattle can also come from the accessory drive, covers, mounts, or another engine component.
Stop the engine for a sudden timing-area noise, loss of power followed by a no-start, oil or coolant contamination inside the timing area, belt tracking damage, or evidence that timing has shifted. Repeated cranking may increase internal contact on an interference engine. Diagnose the state before attempting another start.
The belt, tensioner, idlers, and hardware operate as one system
A new belt depends on correct pulley alignment, tensioner function, idler bearings, sprockets, covers, fasteners, seals, and a clean environment. Continental timing kits include tensioners, idlers or guide pulleys, and application-specific small parts because these wear items affect the same drive. Reusing a noisy or weak component can shorten the new belt’s life.
The estimate should identify every component included and excluded, one-time-use bolts, seals, brackets, covers, accessory belts disturbed for access, and the plan for oil or coolant leaks. “Timing belt replacement” is not a comparable quote until the supporting drive and hardware scope are stated.
A timing-belt-driven water pump changes the repair plan
When the water pump is driven by the timing belt, pump seizure, bearing play, leakage, or incorrect installation can damage the belt system. Continental and Gates both offer complete kits and advise replacing a timing-belt-driven pump with the belt. That relationship does not mean every water pump on every engine belongs in the timing service.
Confirm drive layout, pump condition, duplicated access, coolant specification, seals, flushing need, and bleed procedure. Do not use excess sealant or rotate sensitive components contrary to instructions. After work, cooling-system verification is separate from timing verification: both stable engine timing and correct temperature, circulation, level, and leakage must be demonstrated.
Contamination and root cause must be corrected first
Oil, coolant, fuel, solvents, road debris, damaged covers, foreign objects, pulley misalignment, bearing seizure, incorrect tension, or installation damage can weaken or derail a belt. Dayco’s diagnostic material distinguishes break and tooth-damage patterns and ties them to handling, seized components, foreign matter, tension, and chemical contact.
Replacing only the belt after contamination or component failure leaves the cause active. Trace seal or pump leakage, inspect covers and mounting, verify pulleys and tensioners, and preserve failed-part evidence. Never spray a timing belt to quiet it, and do not bend, twist, crimp, or lever a new belt into place.
Exact locking, tensioning, and rotation procedures are mandatory
Camshaft and crankshaft positions must be established with the engine procedure and required locking or holding tools. Paint marks are not a universal substitute. Variable timing units, high-pressure pumps, balance shafts, tensioner setup, rotation direction, preload, torque-plus-angle fasteners, and sprocket freedom can change the sequence substantially.
Before startup, rotate the engine by hand only as the procedure specifies, then recheck reference positions and tension indicators. If resistance is abnormal, stop and investigate rather than forcing rotation. On interference engines, incorrect timing can bend valves even when the starter turns the engine, so successful cranking is not verification.
If the belt failed, inspect damage before quoting only a belt
A broken, stripped, jumped, or displaced belt can leave valve timing incorrect. Compression, leak-down, borescope inspection, valve movement, cylinder-head evaluation, or controlled disassembly may be necessary to establish whether valves, pistons, guides, followers, camshafts, or other components were damaged. The required path depends on engine design and failure event.
Define a staged authorization: initial diagnosis, damage assessment, teardown limit, evidence for scope changes, repair or engine option, and stopping point. Installing a belt to “see if it runs” can add damage or obscure evidence. The estimate should explain both the timing-system cause and any consequential engine repair.
Verification includes timing, cooling, leakage, and records
Before initial start, confirm tool removal, timing references, tensioner state, fasteners, covers, connectors, accessory drive, fluids, and free rotation. On startup, monitor oil pressure, temperature, warning status, leaks, and abnormal noise without immediately raising speed. Review cam/crank correlation or timing data when the vehicle provides a meaningful test.
Complete required adaptations, bleed and verify cooling work, repeat cold and hot operation, and reinspect after a heat cycle. The final record should state date, mileage, exact kit and pump scope, coolant, seals and hardware, timing verification, and next manufacturer interval. Apply a durable label only when it accurately reflects documented work.