
Service update · September 2026
Pressure-test coolant loss without guessing at the wettest part
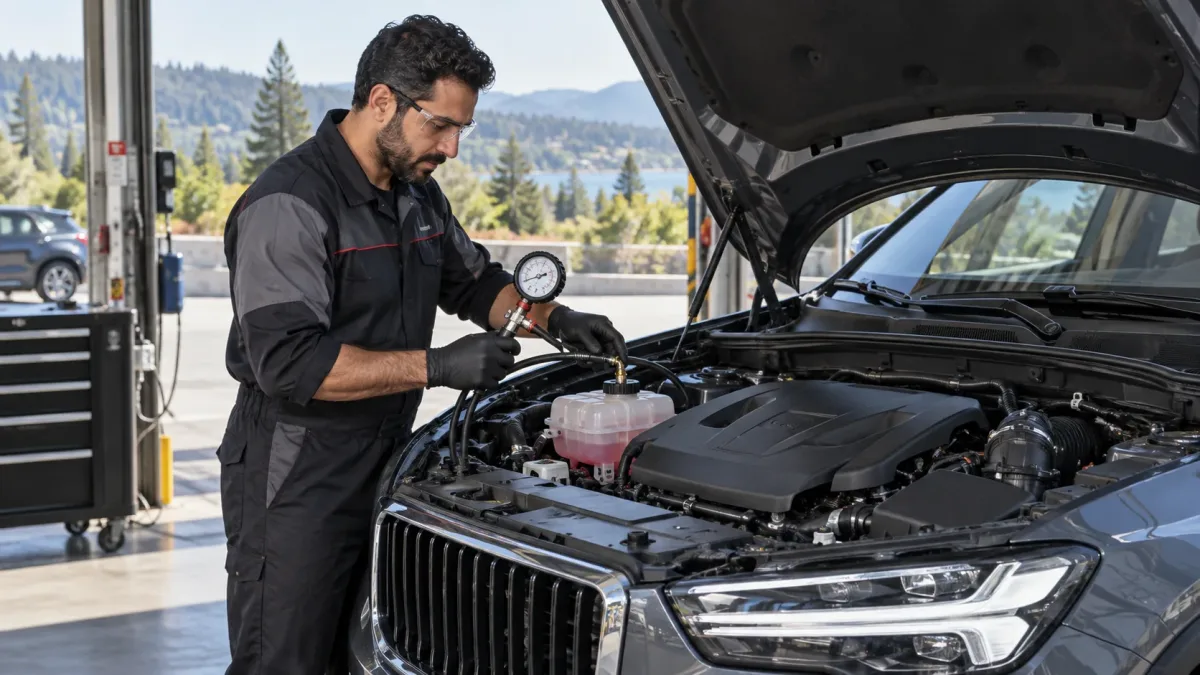
Coolant can travel along covers, shields, airflow paths, and subframes. A controlled test helps identify where fresh evidence begins and whether the system safely holds pressure.
Treat overheating as urgent
Stop safely for rising temperature, steam, rapid coolant loss, disappearing cabin heat, or a severe warning. Do not remove a hot pressure cap. A pressure test is performed on a system cool enough for safe service and within its specified limit; it is not a roadside way to force a leaking vehicle onward. Record recent top-offs and the exact coolant used because mixture and contamination affect the repair plan.
Establish a clean baseline
Inspect level, concentration where appropriate, reservoir seams, cap seal, hoses, radiator, thermostat and pump areas, heater connections, turbo cooling lines, oil cooler, underbody, and dried residue before cleaning. Photograph old evidence, then clean selectively so new seepage can be distinguished. The lowest drip point is often not the source. Shields may store coolant and release it long after the original event.
Use pressure for the question it can answer
Apply the vehicle-specific test pressure with suitable equipment and observe pressure loss and fresh leakage. Test the cap separately when its opening or sealing behavior is in question. Some leaks appear only hot, under vibration, during pump operation, or after shutdown, so a cold static pass does not close the diagnosis. Excess pressure can damage the system and invalidate the result.
Look beyond external leaks
If pressure falls without visible coolant, inspect inaccessible areas and consider heater-core leakage, internal engine paths, EGR or charge-cooling circuits where fitted, and fluid cross-contamination. Combustion-gas testing, cylinder leakage, spark-plug inspection, exhaust evidence, and pressure behavior may be appropriate after an overheat. No single bubble, odor, or chemical test should be stretched beyond its limits.
Verify after filling and bleeding
Repair the confirmed source, use the specified coolant and mixture, and follow the correct vacuum-fill, bleed-point, heater, electric-pump, or scan-tool routine. Then repeat pressure and visual checks, complete a controlled heat cycle, confirm stable temperature, fan operation, cabin heat, and circulation, and recheck the cold level. A successful repair explains both where the coolant went and why the symptom no longer occurs.
Prepare for a productive appointment
Bring the VIN, current mileage, service records, photographs of warnings or leaks, and a short timeline that includes cold or hot operation, road speed, weather, load, recent repairs, jump starts, fluid additions, and anything that makes the symptom better or worse. Do not clear diagnostic memory or disconnect the battery simply to turn a warning off. Preserve replaced parts or fluid samples when they may help explain contamination, wear, or a repeated failure.
Agree on the initial inspection or diagnostic authorization, the contact method, and the spending limit before leaving the vehicle. Ask the advisor to separate observed condition from diagnosed cause, and immediate safety work from maintenance or future planning. If a test requires extended driving, disassembly, cooling time, or a return visit, that limit should be explained before the work expands. A useful estimate defines what is included and which finding could change the scope.
Understand the limits and follow-up
This guide explains a decision process; it cannot inspect the vehicle or establish that an active symptom is safe. Exact specifications, test limits, fluid requirements, torque values, programming, calibration, and service procedures depend on the VIN and installed equipment. Recall and campaign status should be checked with the manufacturer or NHTSA by exact VIN, while warranty and parts coverage should be confirmed in writing with the provider.
After service, request a plain-language record of the original evidence, confirmed cause, work performed, parts and fluids used, measurements or calibrations completed, and the conditions used for verification. Ask what must be rechecked cold, after a drive cycle, or at a mileage interval. If the same warning, leak, noise, vibration, or performance change returns, record the conditions again and contact the provider promptly instead of repeatedly clearing evidence or adding a product.