
Technical guide · September 2026
Find what stays awake before replacing another battery
A vehicle that starts after a jump and fails again the next morning may have a weak battery, incomplete charging, abnormal key-off draw, or several causes together.
Choose the next step
Continue from the answer you need next
Move from this topic to the relevant system, vehicle context, likely budget, or provider search without starting over.
Preserve the original evidence
Record the exact behavior, warning text, temperature, speed, load, weather, recent work, battery events, and frequency before clearing codes or changing parts. Capture confirmed, pending, and permanent faults, freeze-frame data, readiness, and relevant live data. A code identifies what the controller observed; it does not decide whether the cause is mechanical, electrical, hydraulic, pneumatic, software-related, or secondary to another fault.
Use a safe, repeatable test plan
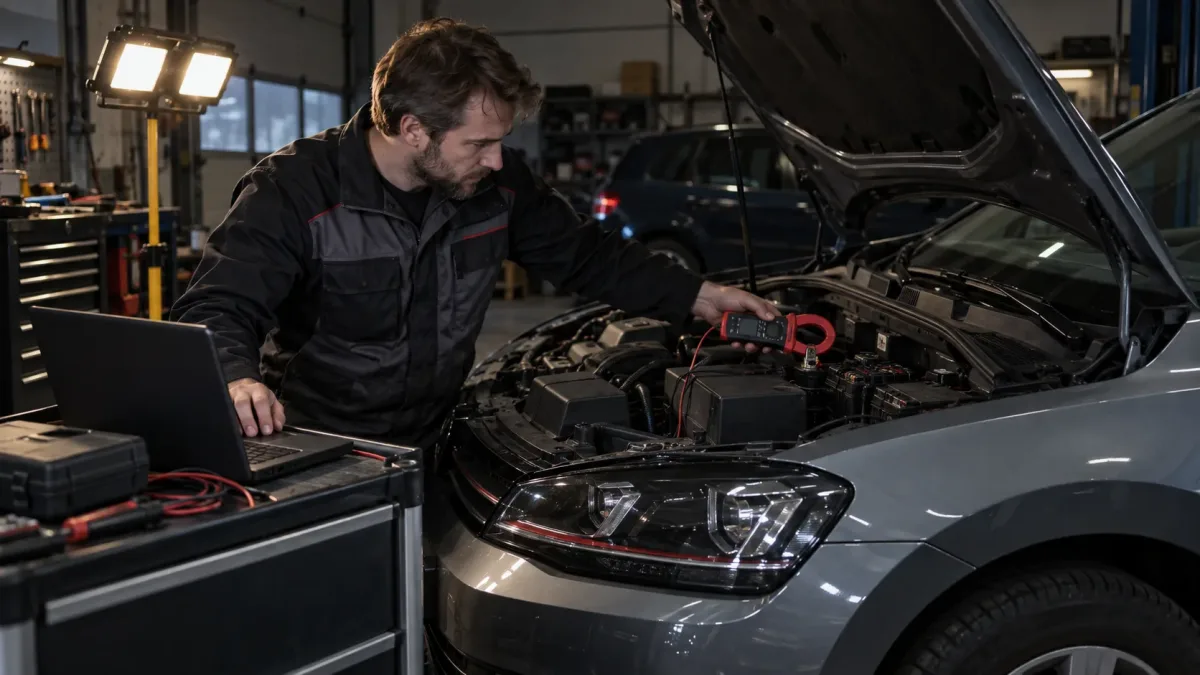
Prove battery health and charging first, then let the vehicle enter its real locked sleep state before tracing abnormal current without waking modules. Stop when the condition creates overheating, smoke, fuel odor, severe vibration, loss of braking or steering, dangerous tire damage, or another immediate risk. Testing should recreate the symptom only within safe limits and with equipment suitable for the circuit or load.
Compare causes instead of naming a part
Build a short evidence table: what supports each cause, what contradicts it, and which measurement separates the remaining options. Inspect connections, routing, leaks, wear, previous repair quality, and basic mechanical condition before condemning an expensive assembly. Compare commands with actual responses and test voltage, pressure, flow, temperature, movement, or sealing under load rather than relying on an unloaded snapshot.
Worked scenario
Suppose the draw drops only when the telematics circuit is isolated. That observation narrows the path but does not finish it. Repeat the condition, check what changed immediately before it, and confirm the relationship with a reversible comparison or targeted measurement. Document what passed as carefully as what failed; otherwise the same symptom may return after a plausible but unsupported replacement.
Define repair scope and verification
The estimate should identify the confirmed cause, included parts and labor, related fluids or one-time hardware, programming or calibration, access-dependent risks, and the method that will verify success. After repair, reproduce the original condition, inspect every disturbed connection, review relevant data and warnings, and state whether further driving is needed for monitors or learned values. A cleared code or quiet idle alone is not complete verification.
Prepare tools, references, and boundaries before testing
Confirm the exact vehicle, system architecture, connector, fluid or electrical specification, and test limits from suitable service information before applying pressure, power, vacuum, smoke, heat, force, or a substitute signal. Use rated equipment, secure the vehicle, protect moving and hot parts, and plan how data will be captured without creating a new fault. A test that wakes modules, changes tire position, clears memory, opens a sealed circuit, or alters a learned value must be recognized when interpreting the next result.
Home observations can improve the history, but they do not justify unsafe road tests, work beneath an unsupported vehicle, opening a hot cooling system, probing high-voltage circuits, releasing refrigerant, or defeating emissions and safety equipment. When the required procedure exceeds the available access, training, or equipment, preserve the evidence and arrange qualified diagnosis rather than improvising a pass/fail shortcut.
Write the conclusion so another person can challenge it
A defensible report names the concern, test condition, tool or data source, expected relationship, actual result, and remaining alternatives. It distinguishes a confirmed cause from a likely direction and states what could not be reproduced or accessed. Photographs and scan captures need labels and context; an isolated number without temperature, load, units, or specification may be impossible to interpret later.
Verification repeats the original symptom under a comparable condition and checks every system disturbed by the repair. It may also require a cold soak, leak recheck, road load, completed monitor, calibration, or customer follow-up. If the result is uncertain, define the next evidence to collect and the limit for continued operation. That is more useful than calling the vehicle fixed because a code was cleared or a short idle sounded normal.
Sources and further reading
Continue by decision
Useful next steps for this topic
Choose the path that matches what you need to decide next. These links are selected from the same vehicle system, symptom, service, or regional context.
Understand the service scope
Seattle-area auto electrical repair starts with a loaded circuit test
A dead battery, slow crank, warning lamp, intermittent no-start, or repeated low-voltage fault in SeaTac or Seattle does not identify a single failed part. The battery, alternator…Follow the diagnostic evidence
Test the battery, starting circuit, charging control, connections, and vehicle loads as one system
A discharged battery, slow crank, warning lamp, repeated jump-start, low-voltage code, or charging complaint can involve battery condition and charge, terminal resistance, grounds…Understand the service scope
Test the electrical system before replacing and registering a battery
Slow cranking or a low-voltage warning may involve battery condition, state of charge, cable resistance, charging strategy, parasitic draw, or the wrong installed battery.Compare a related cost